An Introduction to QGIS
Contents
- What is QGIS?
- How to Install QGIS
- Download Natural Earth Data
- Importing Natural Earth Data
- Print Layout
- Labels
- Packaging
- Practice
- Tutorials
What is QGIS?
QGIS is a free and open source geographic information system (GIS) that runs on Windows, Mac, Linux, UNIX, and Android. It is designed to be very user friendly with a modern user interface. QGIS is released under the GNU General Public License Version 2 or above with source code on GitHub. Go to the QGIS Website to download the software and find tutorials. The QGIS tutorials in this course will cover cartography, map algebra, visual programming, animation, and more.
The QGIS Processing Framework is an environment for geospatial computation that includes a toolbox, a history, a graphical modeler for visual programming, and a batch processing interface. The QGIS processing framework integrates algorithms from the Geospatial Data Abstraction Library (GDAL), the R programming language for statistics, QGIS, GRASS GIS, SAGA GIS, TauDEM, LASTools for lidar processing, and more. QGIS also has an extensive library of plugins.
GRASS GIS is integrated into QGIS as a data provider, a plugin, and as processing algorithms. See my tutorial and the official documentation for using GRASS in QGIS.
How to Install QGIS
Download a QGIS installer. Choose a standalone installer for the latest release for your operating system - e.g. Windows, Mac, or Linux. This will install both QGIS and QGIS with GRASS.
Download Natural Earth Data
Find raster
and vector maps
of the world in the
Natural Earth collection.
Download and extract the
Natural Earth Vector Theme GeoPackage
and the
1:50m Natural Earth I with Shaded Relief and Water
raster.
The coordinate reference system
for these datasets is the
World Geodetic System 1984 (WGS84).
Optionally move these datasets to
a new directory on your computer called
natural_earth.
See my list of geospatial data sources for more place to find data.
Importing Natural Earth Data
Start QGIS.
In the QGIS Broswer on the left
browse to find your data,
e.g. the natural_earth directory.
In the subdirectory NE1_50M_SR_W
double click to add
the Natural Earth I raster
NE1_50M_SR_W.tif.
| Natural Earth |
|---|
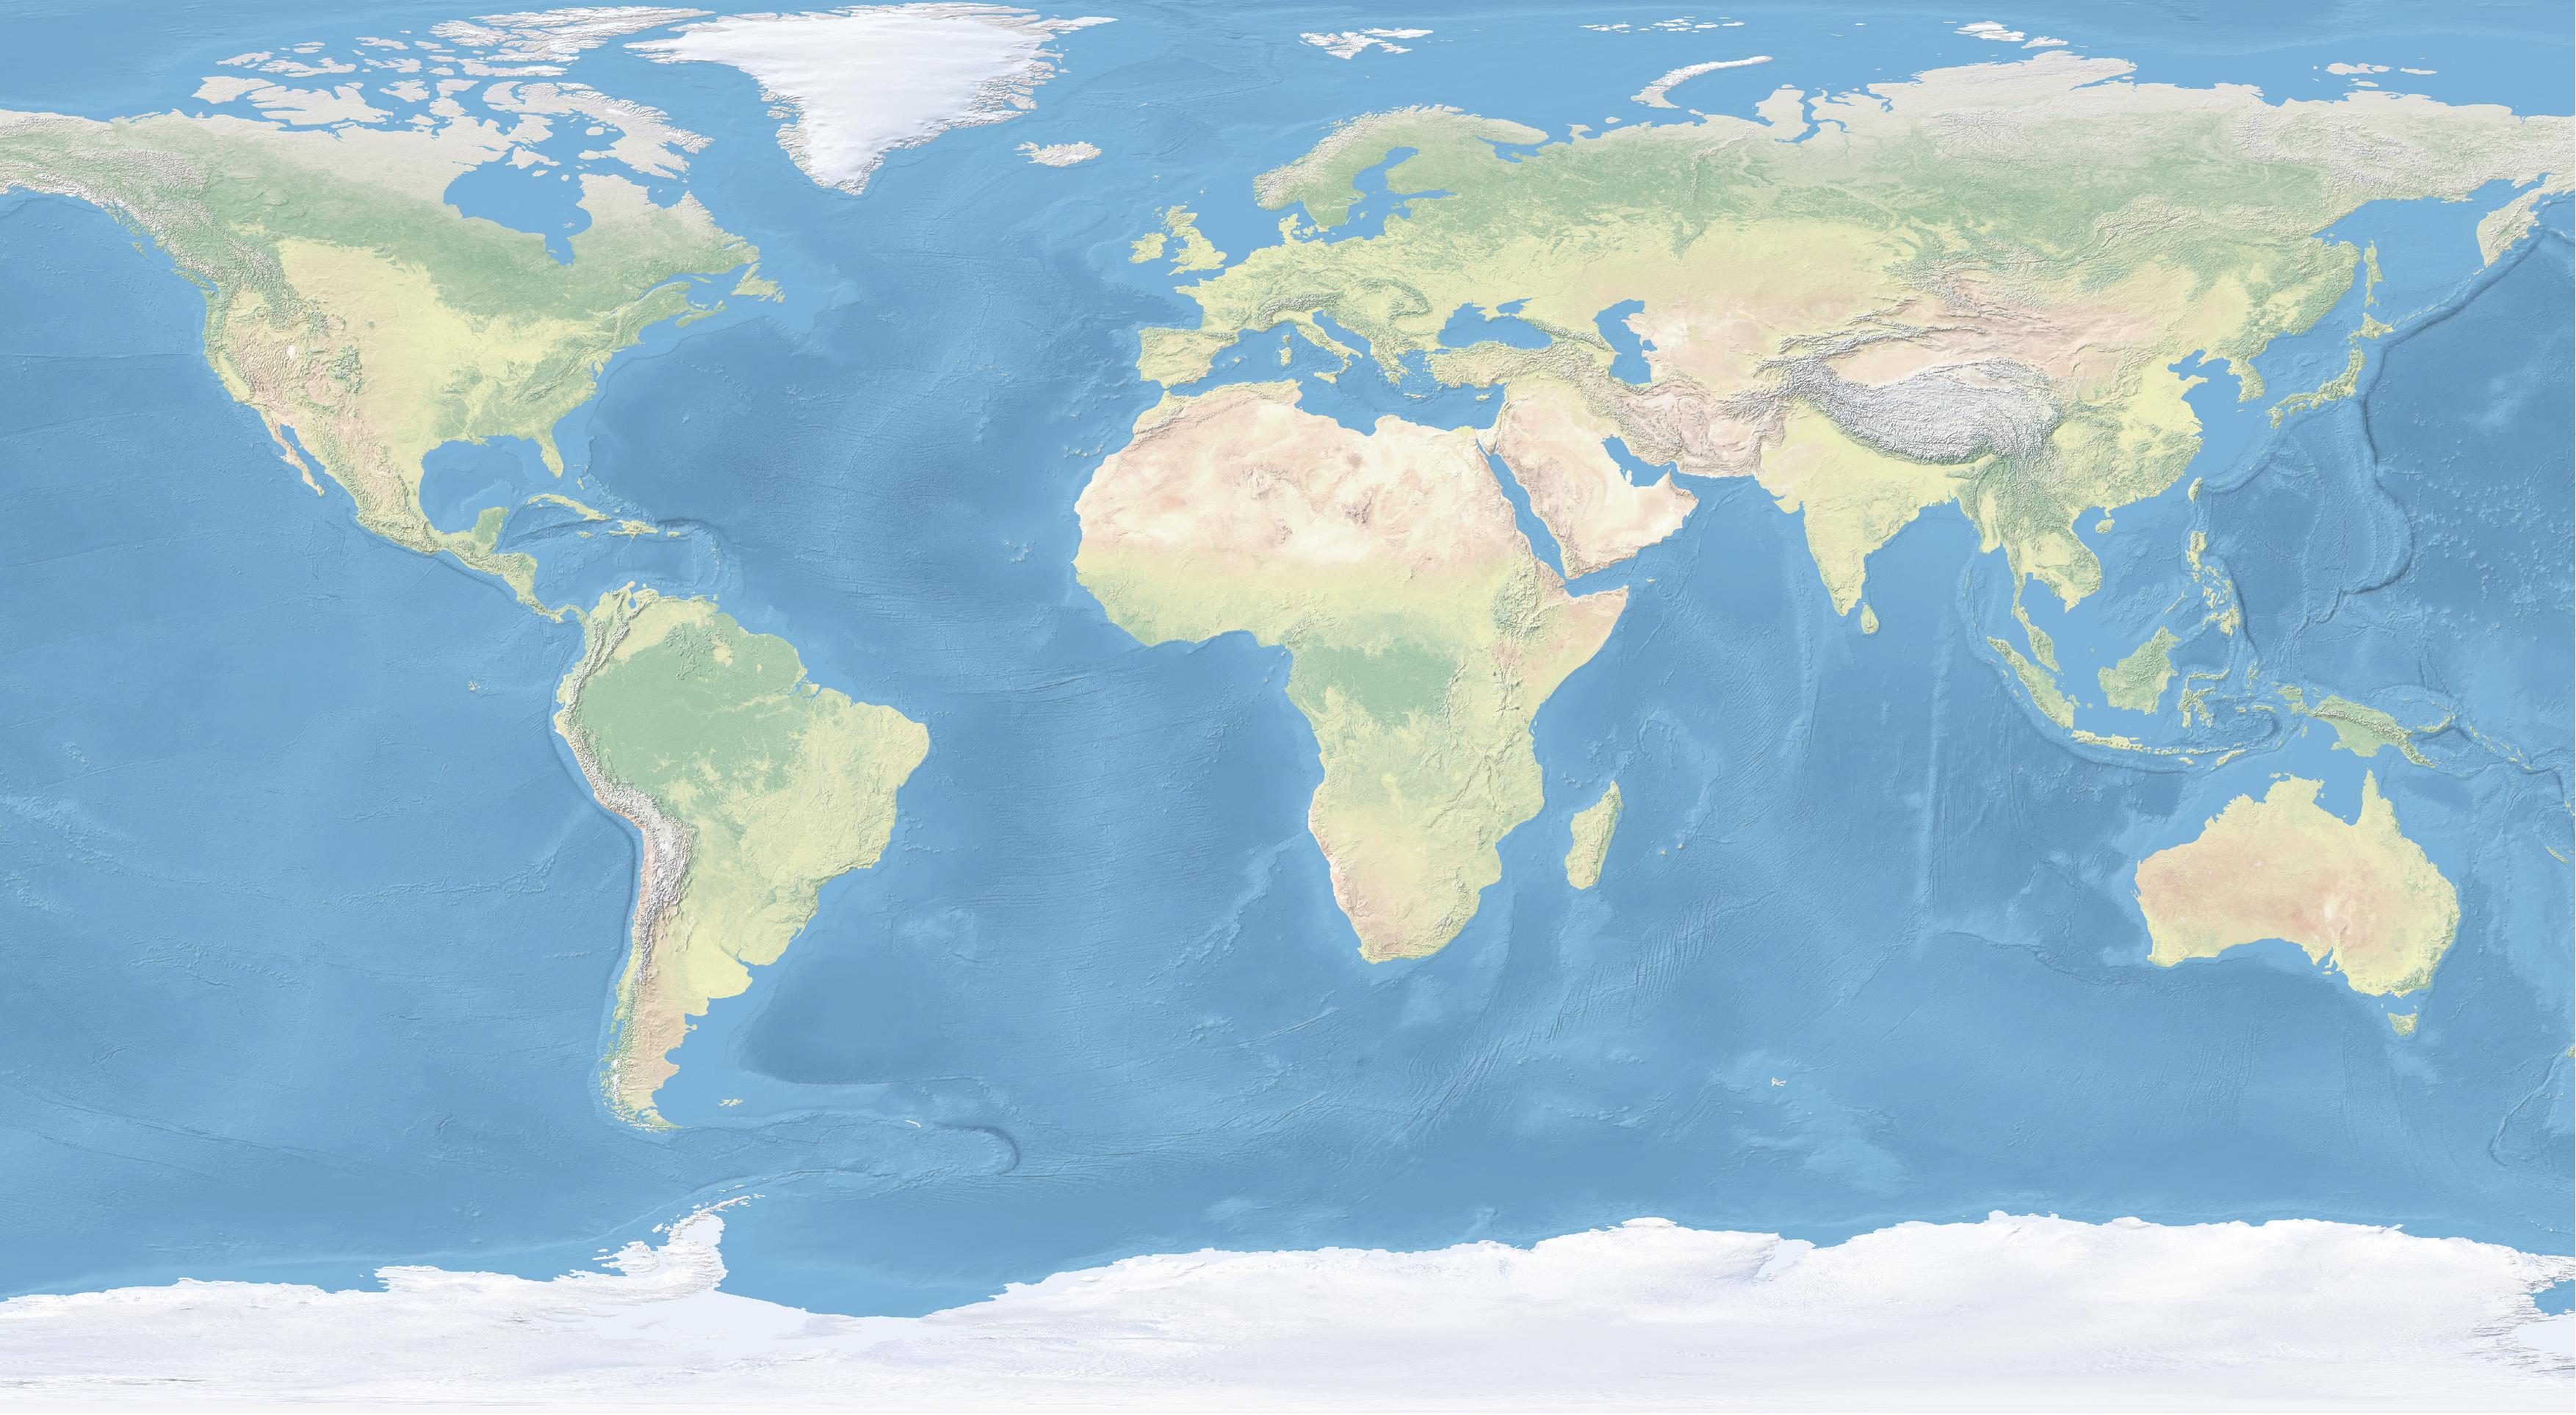 |
Then in the subdirectory natural_earth_vector
expand natural_earth_vector.gpkg
and double click to add
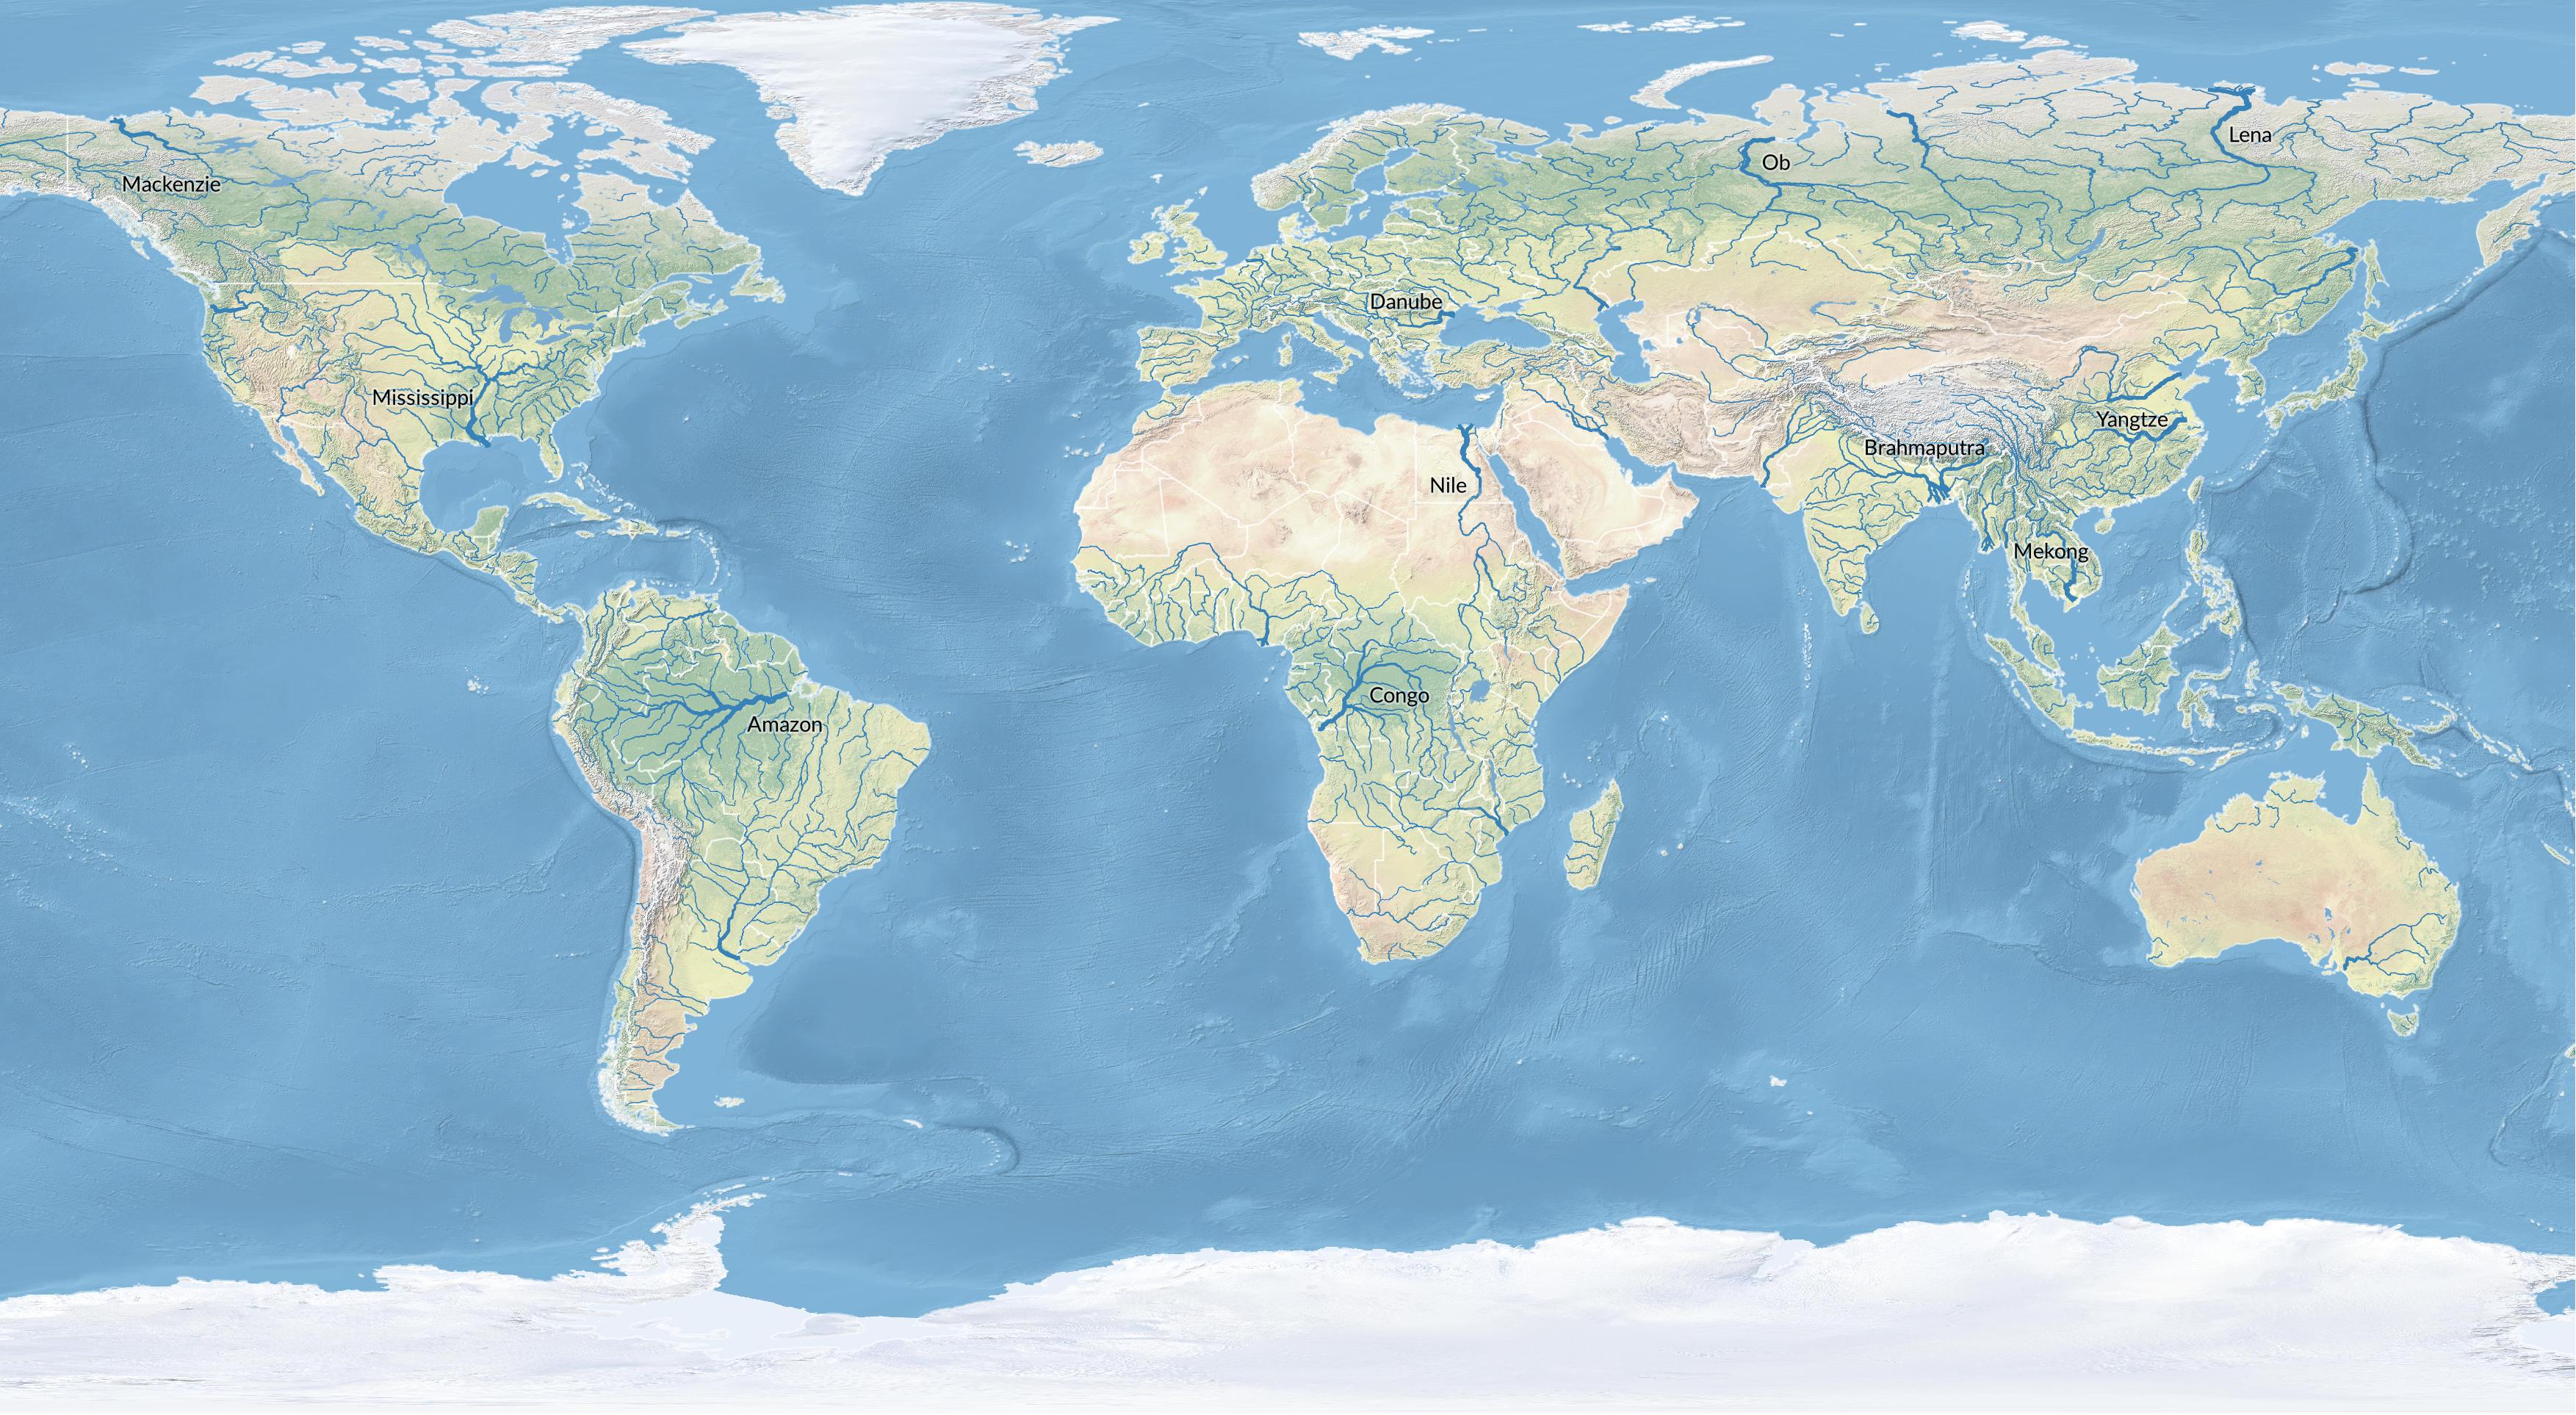
ne_10m_lakes,
ne_10m_rivers_lakes_centerlines_scale_rank, and
ne_10m_admin_0_countries.
The maps will have been added to the Layer panel
beneath the Browser and to the map display.
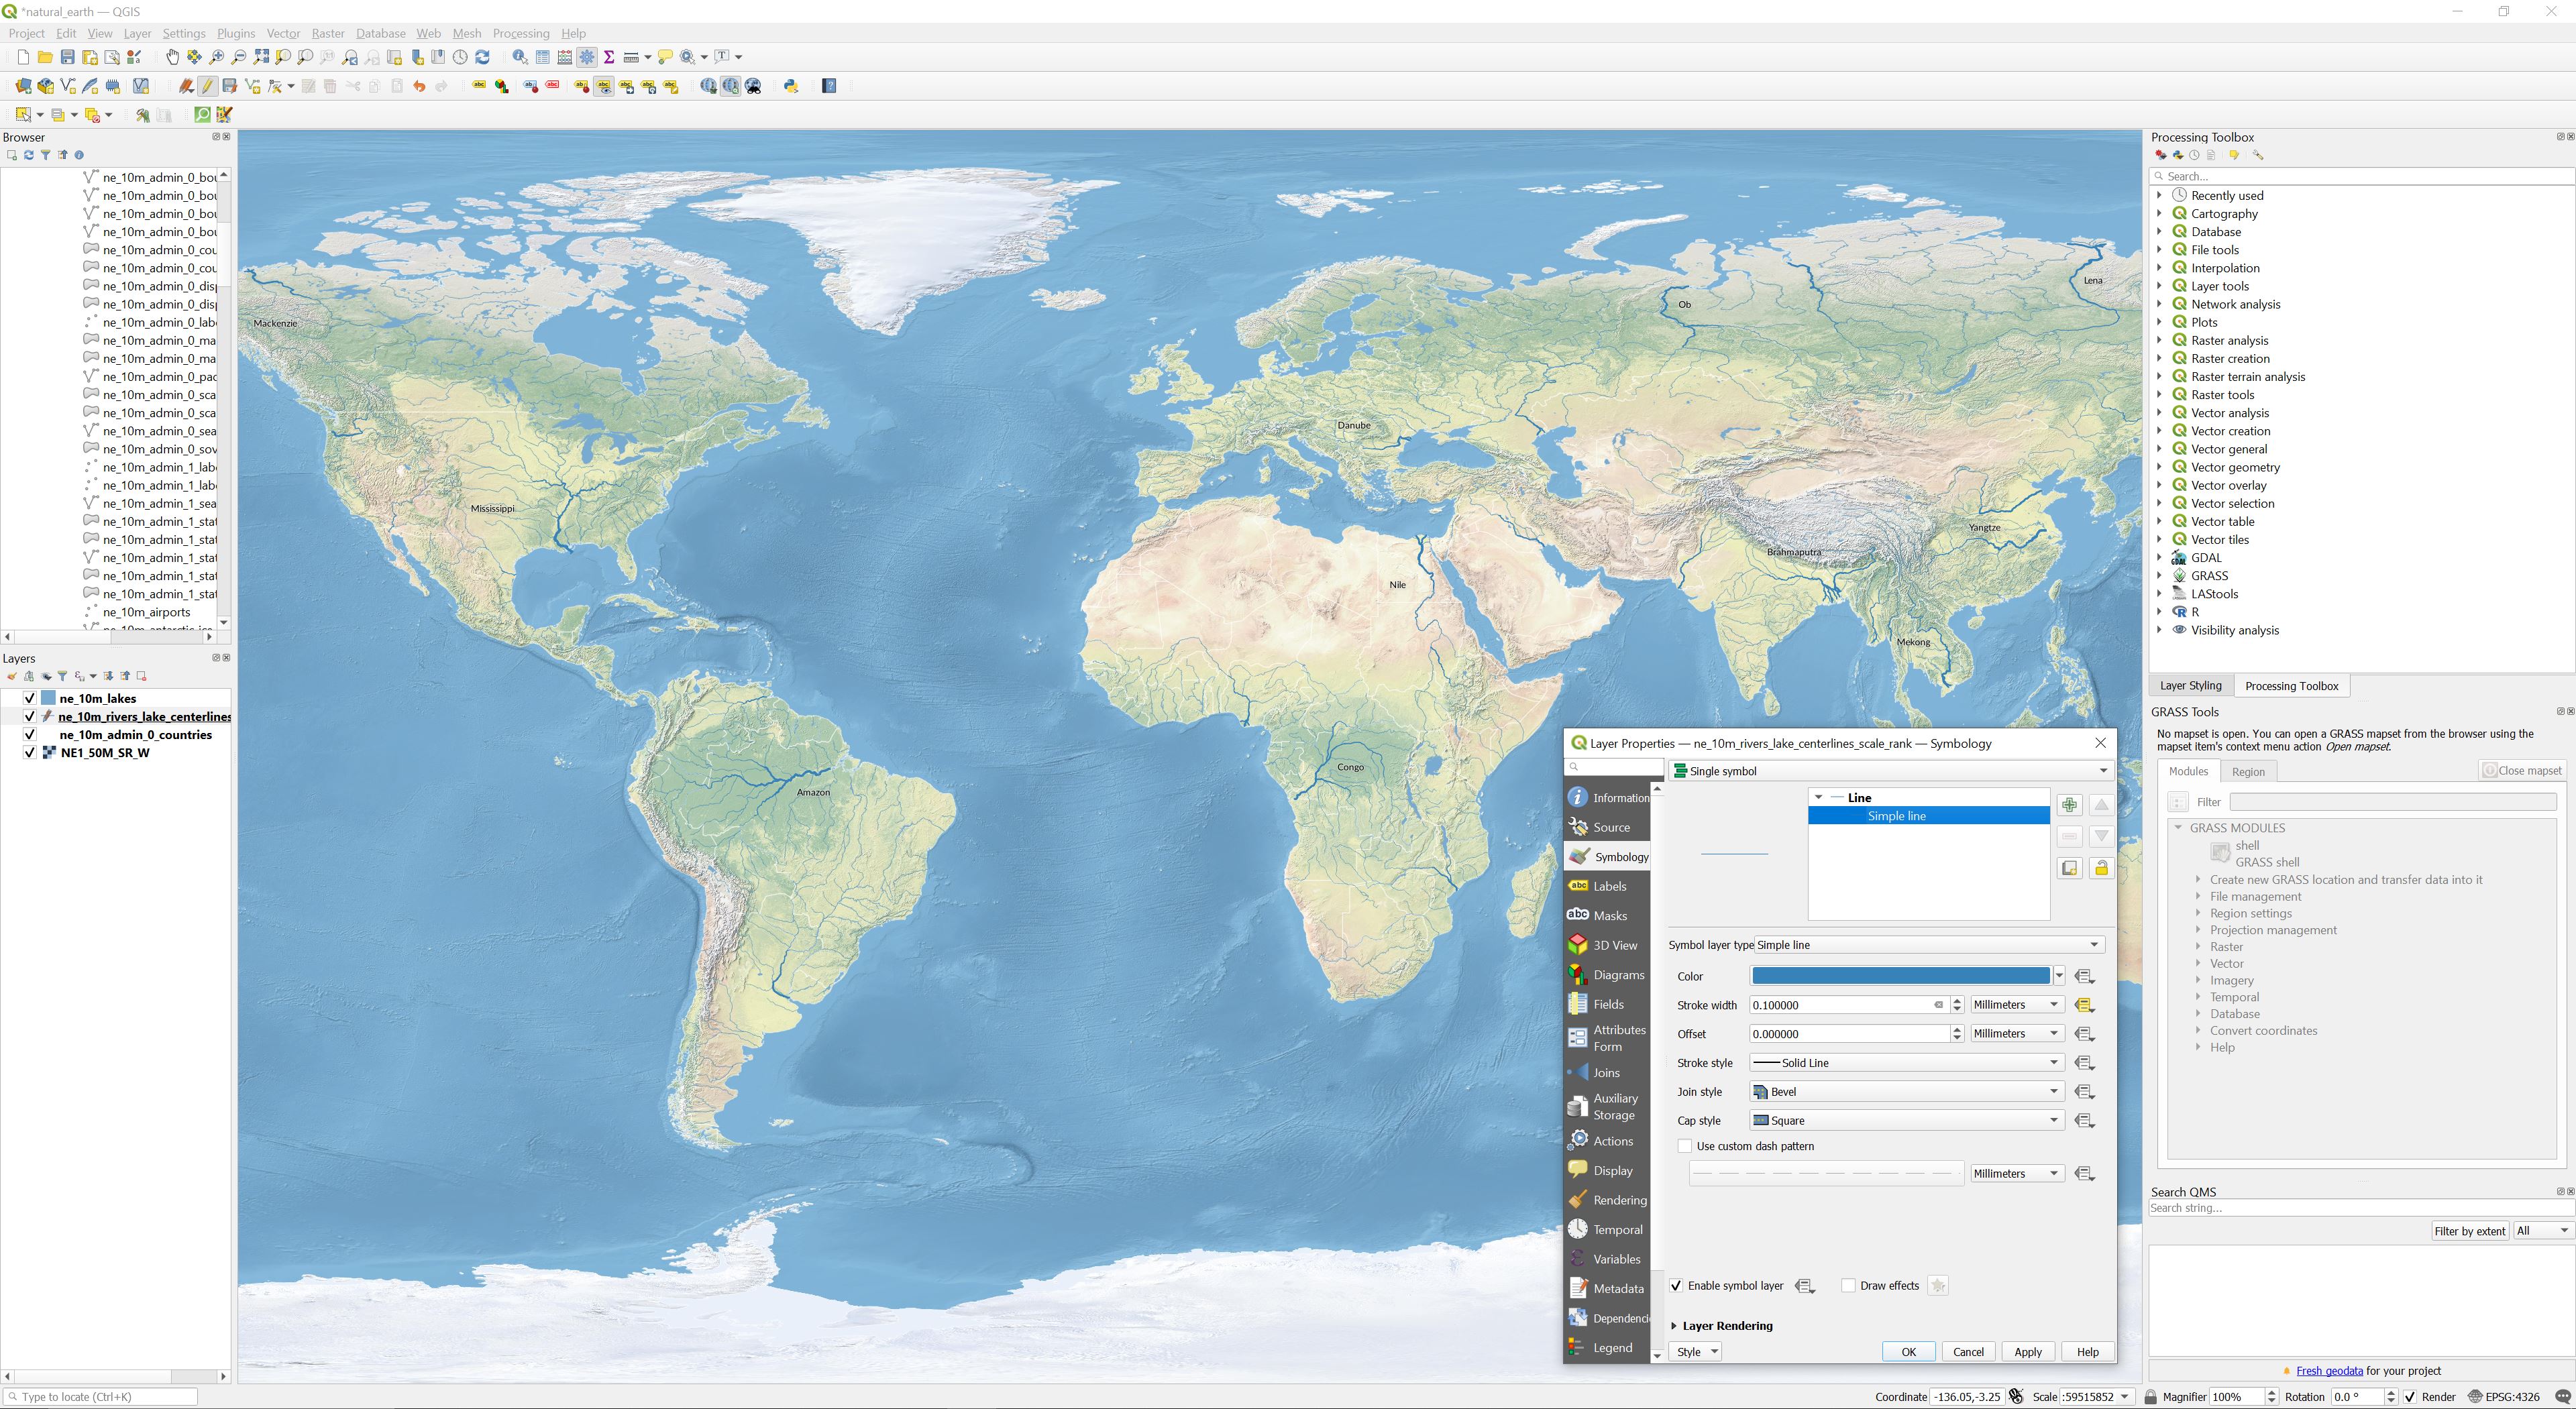
In the Layer panel arrange the layers with the Natural Earth raster on the bottom, then the rivers, then the lakes, and the countries on the top.
Style the lakes with a nice blue fill.
In the Layer panel
double click on
ne_10m_lakes
and select the symbology tab
to set the layer styling.
Set the fill color to a blue
using the color picker
to sample the ocean
in the Natural Earth raster.
Set the stroke color to transparent.
Style the rivers with stroke weights
and colors based on stream order.
In the Layer panel
double click on
ne_10m_rivers_lakes_centerlines_scale_rank
and select the symbology tab
to set the layer styling.
Under line select simple line.
For stroke width click on
data defined override at the far right
and select the Assistant.
In the Assistant dialog
set the source to strokeweig,
refresh the input values,
and set the output value size from
0.1 to 0.6.
Style the countries with
a thin border.
In the Layer panel
double click on
ne_10m_admin_0_countries
and select the symbology tab
to set the layer styling.
Under fill select simple fill.
Change simple fill to outline: simple outline
in the symbol layer type dropdown.
Then set the color to white
and the stroke width to 0.2.
Back in fill Layer Styling settings
change the opacity to 50%.
Print Layout
Use QGIS’ print layout to make nice maps.
In the project menu select new print layout
to open the print layout window.
Use the add map button in the toolbar
on the left side of the print layout
to draw a new map canvas.
The layers and styles you set in QGIS
will render on this map.
Select your map in the items panel on the right,
then in the item properties panel below that
set a map scale.
Optionally add cartographic elements
such as a numeric scale. Use the export image button
to save your
map as a jpg at 300 DPI.
| Rivers of the World |
|---|
 |
Labels
Add labels
to the rivers.
In the Layer panel
double click on ne_10m_rivers_lakes_centerlines_scale_rank
and select the labels tab
to set the layer styling.
First try setting single labels
to either name or name_en.
Since there are too many labels,
set rule-based labelling instead.
Double click to edit the new rule.
Set a filter based on stream order:
"scalerank" <3
Set the value for the labels to
name or name_en.
Set placement to horizontal.
Under rendering set feature options
to merge connected lines to avoid duplicate labels.
Optionally set your font
and add drop shadows and buffers to your text.
Under shadow check draw drop shadow
and lower the opacity.
Under buffer check draw text buffer,
set a size, and set a blend mode such as soft light.
Use the label tools to manually move and remove labels. Moving a label will remove all duplicates leaving only one manually placed label. Removing a label will remove all labels of the same name.
| Rivers of the World |
|---|
 |
Packaging
To keep your data organized and easy to move and share,
add your rasters and vectors to a
GeoPackage (.gpkg).
First rename natural_earth_vector.gpkg to natural_earth.gpkg.
Then in QIGS in the Browser
drag the Natural Earth I raster NE1_50M_SR_W into natural_earth.gpkg.
After a popup dialog confirms that the raster was successfully imported,
hit the refresh button in the Browser
to see the raster inside of the GeoPackage.
Remove the current raster layer from your map
and instead add raster layers from the GeoPackage.
Save your project as natural_earth.qgz
in the same directory as the natural_earth.gpkg GeoPackage
so that you can easily move both files together.
By default data sources will be saved as relative paths.
This setting can be changed in Project Properties > General Settings.
When you want to move or share this project,
be sure to move both files together.
You need the data as well as the project.
If you are sharing these files online,
you may want to compress them into a
a .zip or .tar.gz archive.
Practice
Try the
Natural Earth Quick Start Kit.
The default settings for this project have labels in Greek.
In the project menu open the properties dialog.
In the variables tab set project_language to
‘name_en’ for English or set the language of your choice.
Tutorials
Follow these tutorials to learn more about QGIS: